How to Safely Change a Tire on the Side of the Road

Picture this: you're cruising down the Texas highway, music playing, wind in your hair, but suddenly, disaster strikes – a flat tire! Don't worry, we've all been there. Knowing how to change a tire can save you time, money, and stress. In this guide, we'll walk you through the step-by-step process of safely changing a tire on the side of the road, so you can be back on your way in no time.
Step 1: Find a Safe Spot
The first thing you want to do is find a safe location to pull over. Look for a level, solid surface away from traffic. If possible, pull over onto the shoulder. Make sure you have enough space to work safely around your vehicle.
Step 2: Turn on Your Hazard Lights
Let other drivers know that your vehicle is disabled by turning on your hazard lights. This will alert them to slow down and give you some space while you work on changing the tire.
Step 3: Gather Your Tools
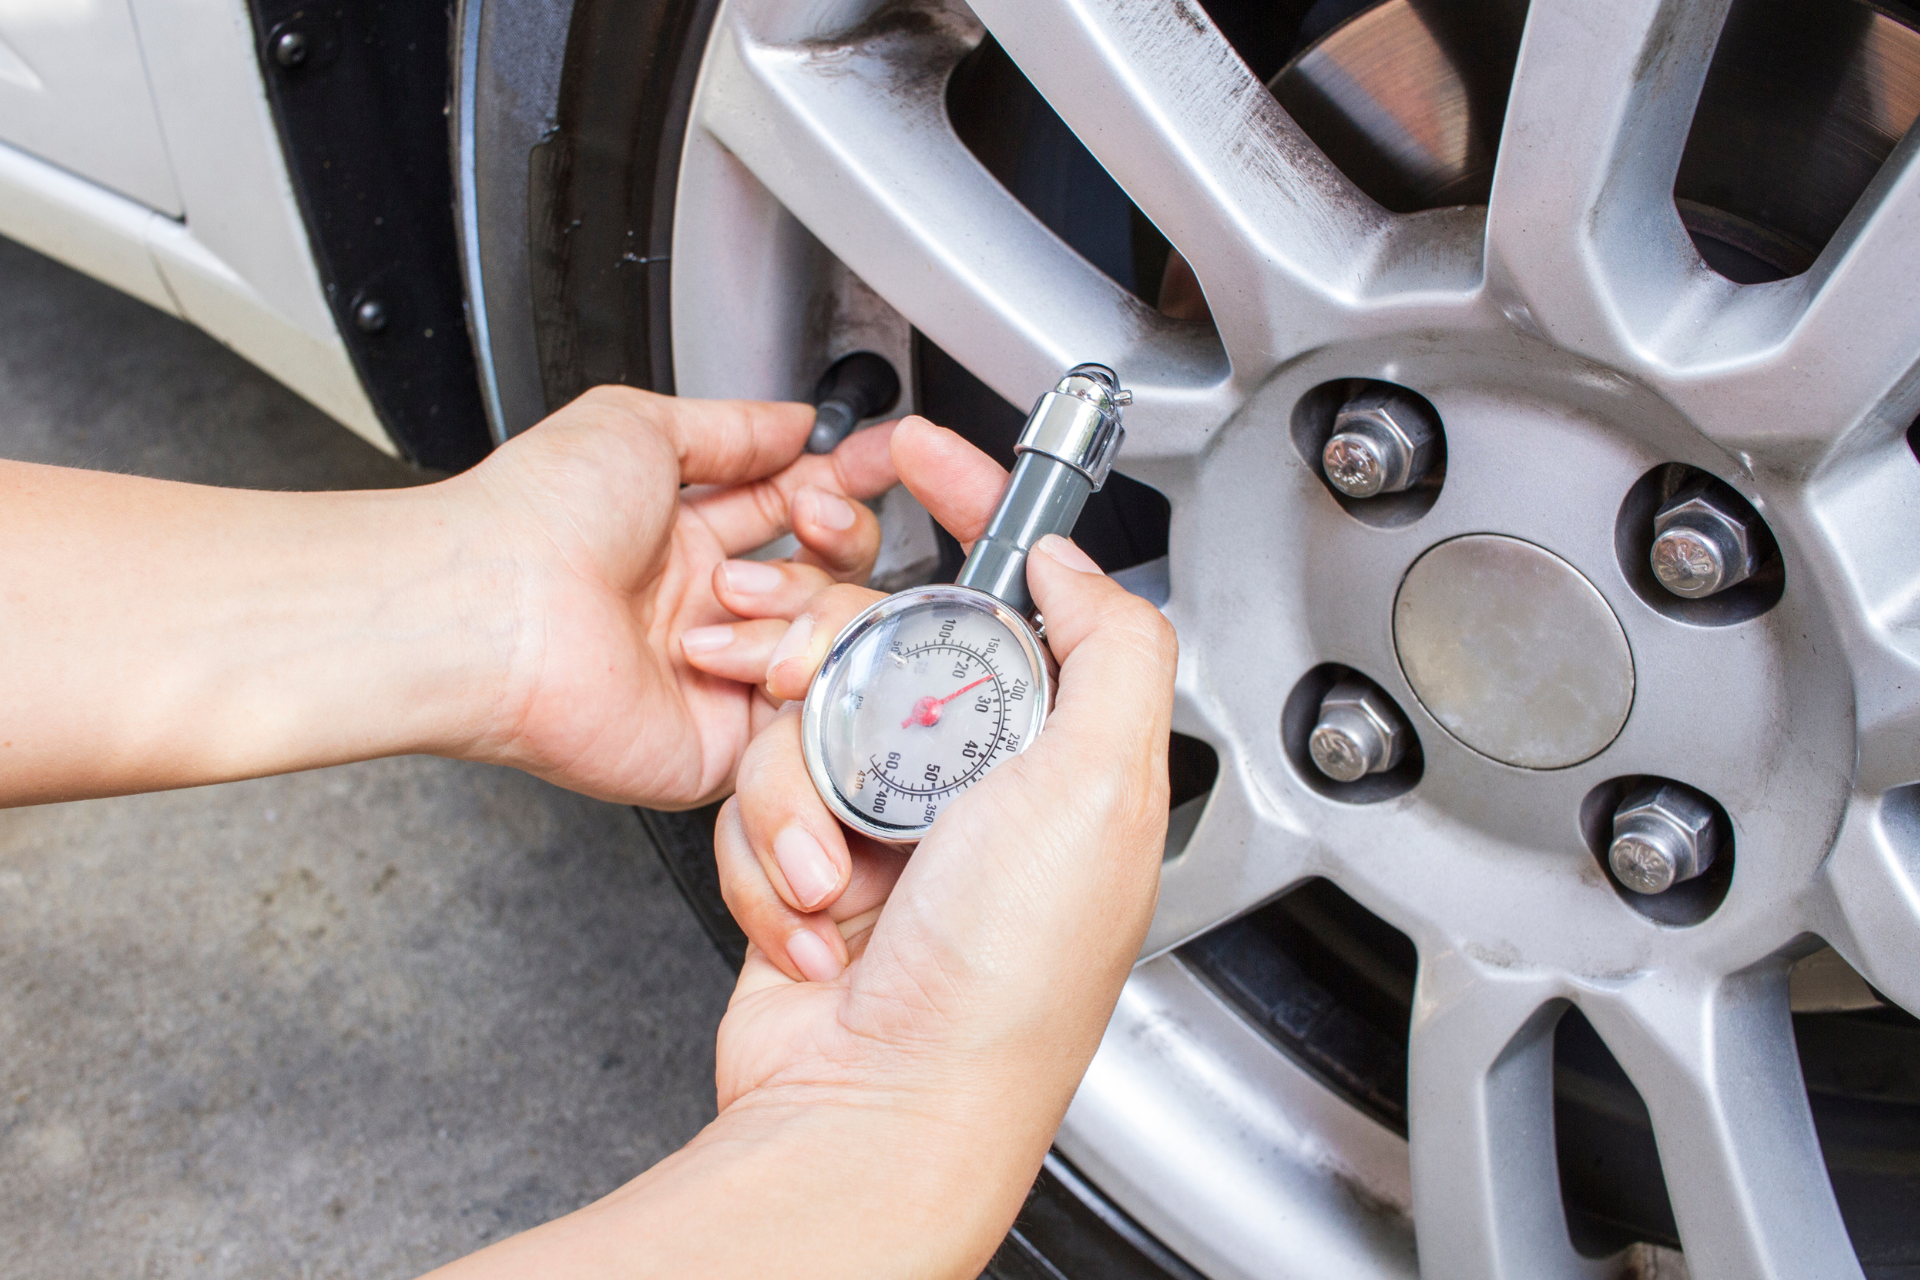
Before you start changing the tire, make sure you have all the necessary tools on hand. These typically include a spare tire, jack, lug wrench, and your vehicle owner's manual. Double-check to ensure you have everything you need before getting started.
Step 4: Loosen the Lug Nuts
Using the lug wrench, loosen the lug nuts on the flat tire, but do not remove them completely just yet. This will make it easier to unscrew them once the tire is off the ground.
Step 5: Jack Up the Vehicle
Consult your owner's manual for the correct jacking points on your vehicle. Place the jack under the vehicle frame near the flat tire and lift the vehicle until the flat tire is off the ground. Make sure the vehicle is securely supported by the jack before continuing.
Step 6: Remove the Flat Tire
Now that the flat tire is off the ground, you can unscrew the lug nuts completely and remove the tire. Place the flat tire aside and be careful not to misplace the lug nuts – you'll need them later.
Step 7: Install the Spare Tire
Align the spare tire with the wheel studs and gently push it onto the hub. Once the spare tire is in place, hand tighten the lug nuts onto the wheel studs.
Step 8: Lower the Vehicle and Tighten the Lug Nuts
Carefully lower the vehicle back to the ground using the jack. Once the vehicle is securely on the ground, tighten the lug nuts using the lug wrench in a star pattern to ensure even tightening.
Step 9: Put Away Your Tools
After the spare tire is securely in place and the lug nuts are tightened, put away all your tools and the flat tire in your vehicle. Double-check to ensure everything is secure before driving off.
Step 10: Get Back on the Road
Once you've safely changed the tire, you're ready to get back on the road. Drive at a moderate speed to ensure the spare tire is secure, and head to the nearest service center to have your flat tire repaired or replaced.
In the unfortunate event that you're unable to change the tire yourself or encounter any difficulties, don't hesitate to contact Texas Towing Guys for professional roadside assistance. We're here to help with tire repairs, jump-starting, gas delivery, lockout services, and towing for all your vehicle needs.
Remember, knowing how to safely change a tire can come in handy at any time. Stay safe on the road, and be prepared for those unexpected flat tires. Happy and safe driving!