How to Jump-Start Your Car: A Step-by-Step Guide

Welcome back to the Texas Towing Guys blog! Today, we're tackling a common car issue that can catch any driver off guard - a dead battery. Whether you left your lights on or your battery is just on its last legs, knowing how to jump-start your car is a valuable skill that can save you time and money. In this step-by-step guide, we'll walk you through the process in a simple and straightforward manner. So, grab your jumper cables and let's get started!
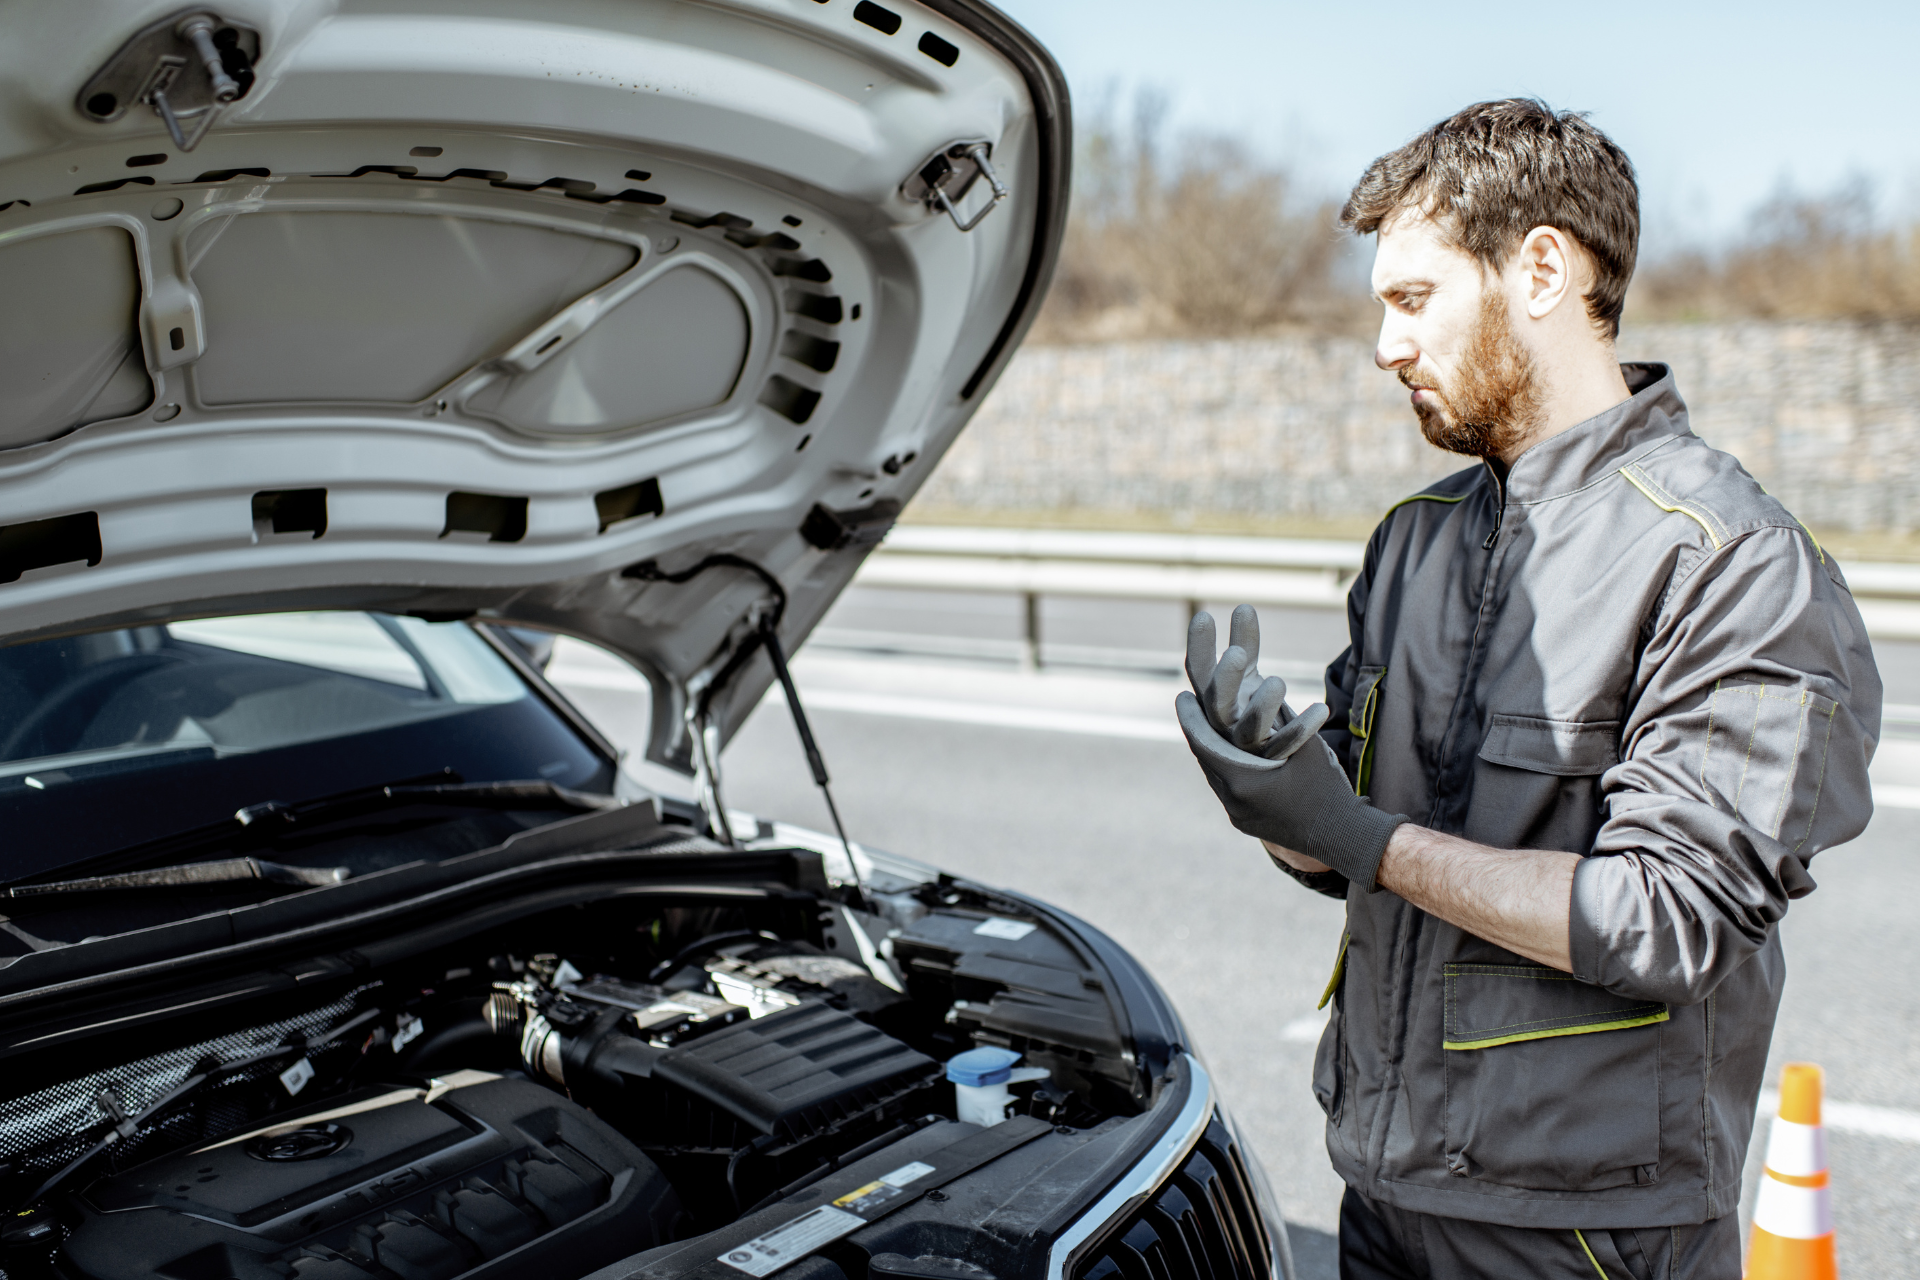
Step 1: Safety First
Before you attempt to jump-start your car, it's essential to ensure your safety. Park both vehicles in a safe location with enough space between them. Turn off the ignition and engage the parking brakes on both vehicles. Additionally, put on your hazard lights and wear safety glasses and gloves for added protection.
Step 2: Identify the Components
Open the hoods of both vehicles and locate the battery terminals. You'll see two terminals on each battery - a positive terminal (+) typically marked in red and a negative terminal (-) marked in black. It's crucial to correctly identify these terminals to avoid any accidents during the jump-starting process.
Step 3: Connect the Jumper Cables
Grab your jumper cables, ensuring they're in good condition without any signs of damage. Start by connecting one red clamp to the positive terminal of the dead battery. Then, attach the other red clamp to the positive terminal of the working battery. Next, connect one black clamp to the negative terminal of the working battery and the remaining black clamp to an unpainted metal surface on the dead car. This step is necessary to ground the connection and prevent sparking.
Step 4: Start the Engines
Once the jumper cables are securely connected, start the engine of the working vehicle and let it run for a few minutes. Afterward, try starting the engine of the dead car. If it starts successfully, leave both engines running and let the dead battery charge for a few more minutes.
Step 5: Disconnect the Jumper Cables
After allowing the dead battery to charge, it's time to disconnect the jumper cables in the reverse order of how they were connected. Start by removing the black clamp from the unpainted metal surface, followed by the black clamp from the working battery's negative terminal, the red clamp from the working battery's positive terminal, and finally, the red clamp from the dead battery's positive terminal.
Step 6: Test the Battery
Once the jumper cables are removed, drive the vehicle that was jump-started for at least 15-20 minutes to allow the alternator to recharge the battery fully. If you're still experiencing issues with starting your car, it may be a sign of a more significant problem with the battery or charging system, and you should consult a professional for assistance.
Congratulations, you've successfully jump-started your car! Remember, knowing how to perform this simple procedure can come in handy during emergencies. If you're ever in doubt or unable to jump-start your vehicle on your own, don't hesitate to contact the professionals at Texas Towing Guys for reliable roadside assistance.
Stay safe on the road, and until next time, happy driving!
That's a wrap on our guide to jump-starting your car! If you found this post helpful, be sure to share it with your friends and family. As always, stay tuned to the Texas Towing Guys blog for more valuable tips and insights on road safety and vehicle maintenance.