How to Change a Flat Tire (Even If You've Never Done It Before)

Flat tires can happen to anyone, anywhere, at any time. If you're cruising down the highway and suddenly feel that unsettling bump, panic can set in quickly. But don't worry! With a little guidance, changing a flat tire is something you can handle—regardless of your previous experience. Here’s a step-by-step guide to help you out, brought to you by the experts at Texas Towing Guys.
Step 1: Gather Your Tools
Before you get started, you'll want to be prepared. Ensure you have the following tools in your vehicle:
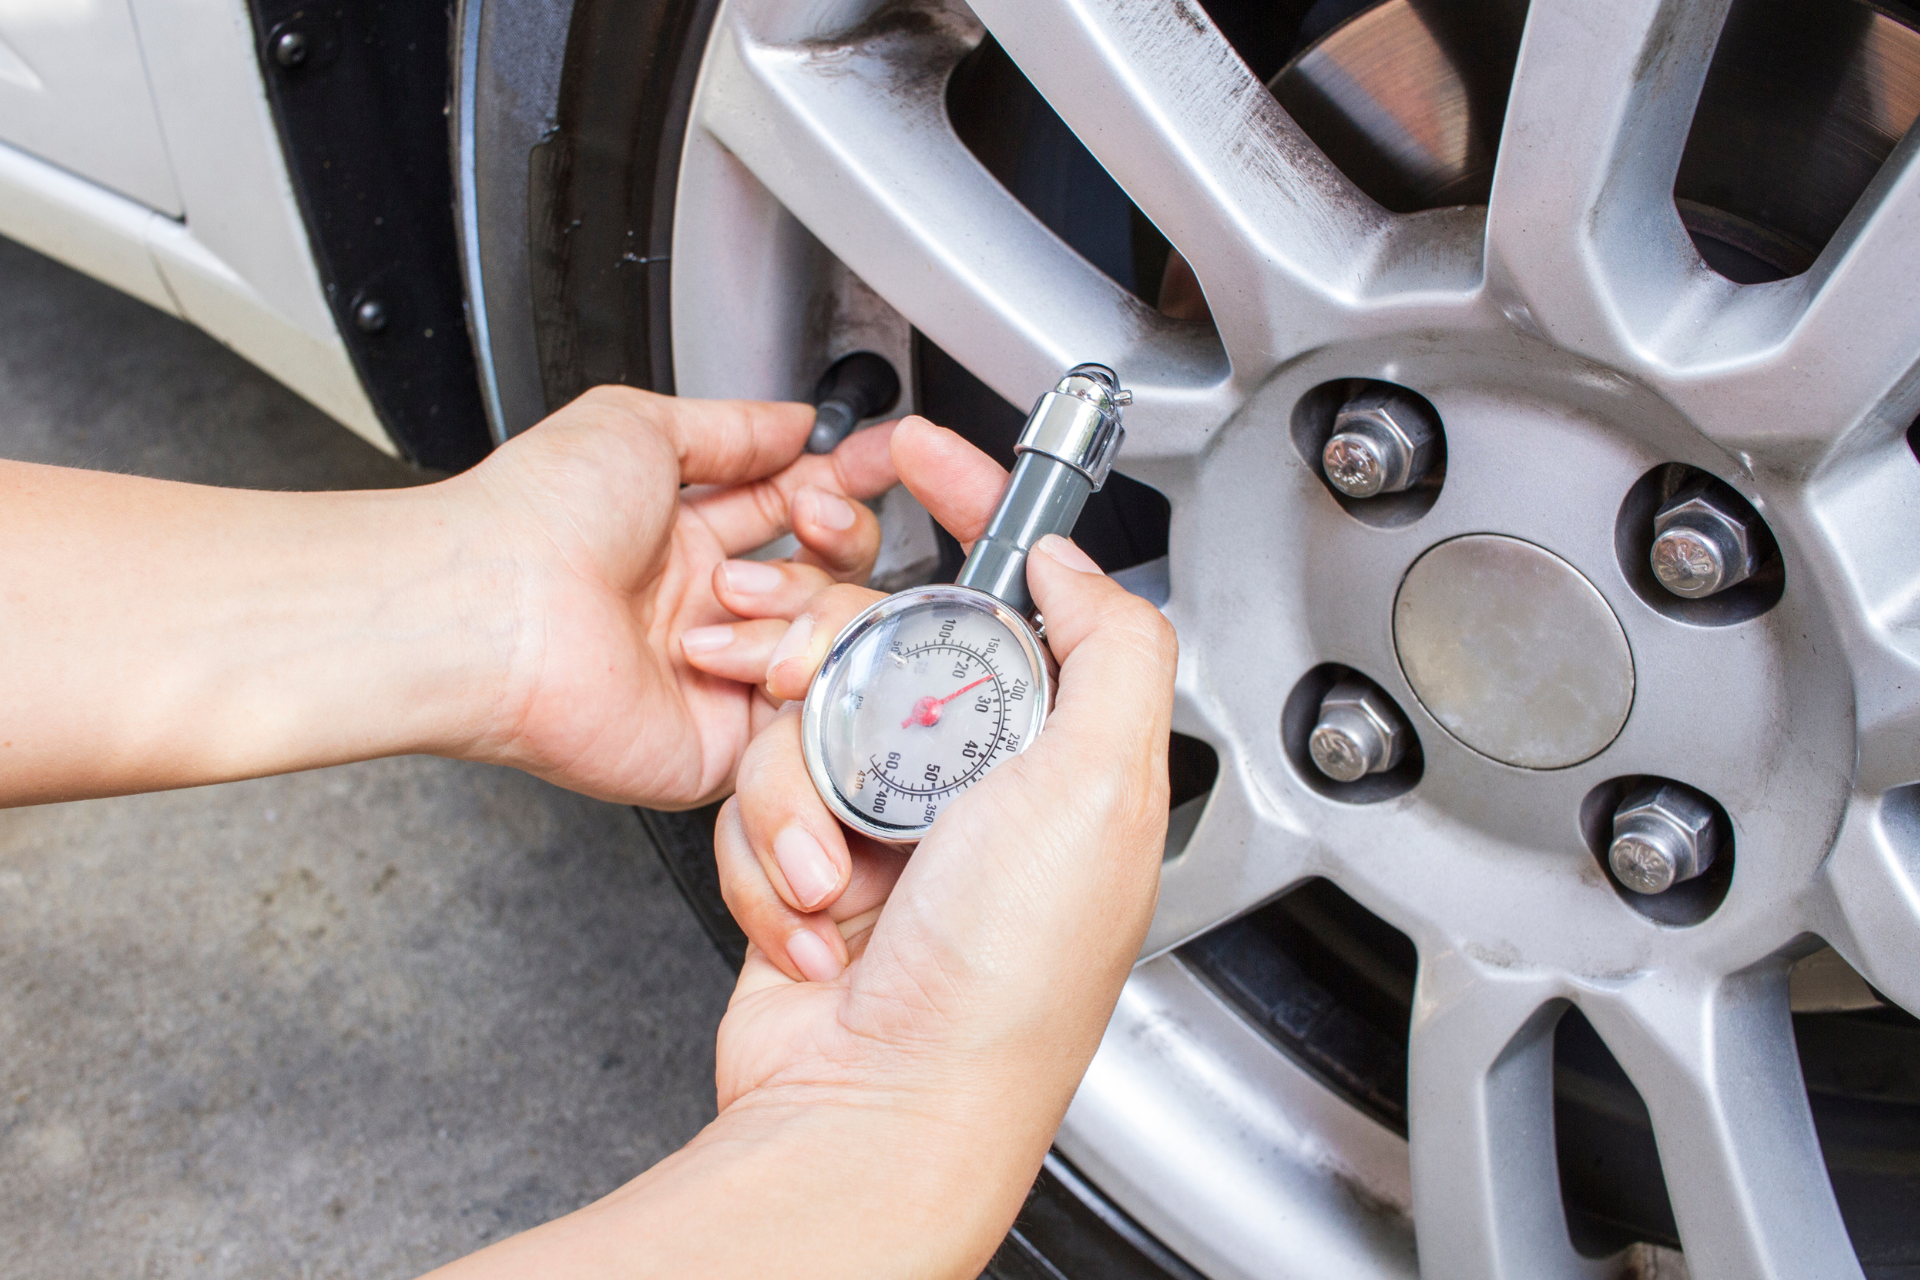
- Spare tire (make sure it’s properly inflated!)
- Car jack
- Tire iron
- Wheel wedges
- Owner's manual (for specific instructions related to your vehicle)
Step 2: Find a Safe Spot
Safety first! If you notice your tire is flat while driving, pull over to a safe location. Ideally, look for a flat surface away from traffic—like a parking lot. Turn on your hazard lights to alert passing vehicles that you're stopped.
Step 3: Secure the Vehicle
Once you’re parked securely, it's time to take precautions. If you have wheel wedges, place them against the tires opposite the flat tire to prevent the car from rolling. Ensure your vehicle is in park, and engage the parking brake.
Step 4: Loosen the Lug Nuts
Using your tire iron, loosen the lug nuts on the flat tire. This step is easier to do while the tire is still on the ground since the weight of the car prevents the tire from spinning. Turn the lug nuts counterclockwise, but don’t remove them completely yet—just break the seal!
Step 5: Jack Up the Vehicle
Once the lug nuts are loosened, take out the car jack. Refer to your owner’s manual for the exact locations to place the jack. Usually, it’s found on a reinforced area of the frame near the flat tire. Crank the jack until the flat tire is off the ground.
Step 6: Remove the Flat Tire
Now that the vehicle is elevated, it's time to remove those lug nuts completely. Keep them in a safe spot so you don’t lose any. Then, take off the flat tire. You might need to wiggle it a bit to free it from the hub.
Step 7: Install the Spare Tire
Carefully lift the spare tire onto the hub, aligning it with the lug bolts. Hand-tighten the lug nuts onto the bolts—just a couple of turns will do for now. Don’t tighten them fully until the vehicle is back on the ground.
Step 8: Lower the Vehicle
Carefully lower the vehicle back to the ground using the jack. Once the tire makes contact with the ground, stop cranking.
Step 9: Tighten the Lug Nuts
Now that the car is back on the ground, it’s time to tighten the lug nuts fully. Use the tire iron to turn them clockwise. It’s best to tighten them in a crisscross pattern to ensure even pressure.
Step 10: Clean Up and Drive Safely
After you’ve ensured the spare is secure, don’t forget to place the flat tire and tools back in your vehicle. When you’re ready, drive carefully—spare tires are typically not meant for long distances or high speeds.
Final Thoughts
And there you have it! Changing a flat tire is a manageable task when you break it down into simple steps. However, if you ever find yourself feeling overwhelmed, remember that the Texas Towing Guys are just a call away. Whether you’re in need of roadside assistance, a spare tire replacement, or towing services, we’ve got your back. Safe travels!